Nederlands


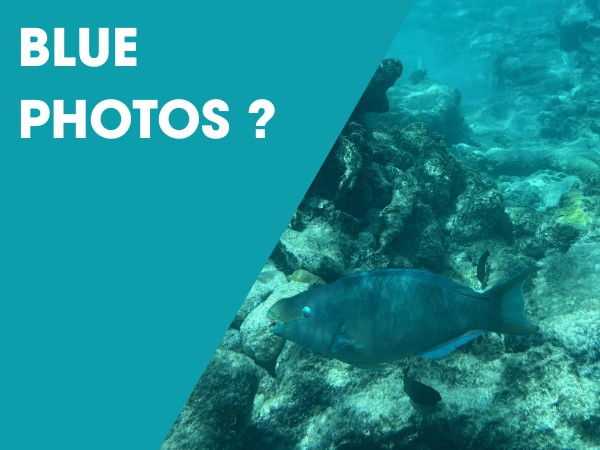
When you start shooting underwater, one thing becomes obvious very quickly: your photos and videos look blue. Even in clear tropical water, warm colors disappear fast. This is not a problem with your camera. It is simply how light behaves underwater. To get natural colors back, you need to correct this. In this guide, we explain how underwater color correction filters work and when to use them.
When you take photos or videos underwater, you’ll notice that many colors seem to disappear. This is due to light absorption in water. The deeper you go, the more colors fade away:
- Red disappears first, often within the first 3 to 5 meters.
- Orange and yellow follow, usually between 5 and 15 meters.
- Blue light travels the furthest, which is why underwater images often look blue or green
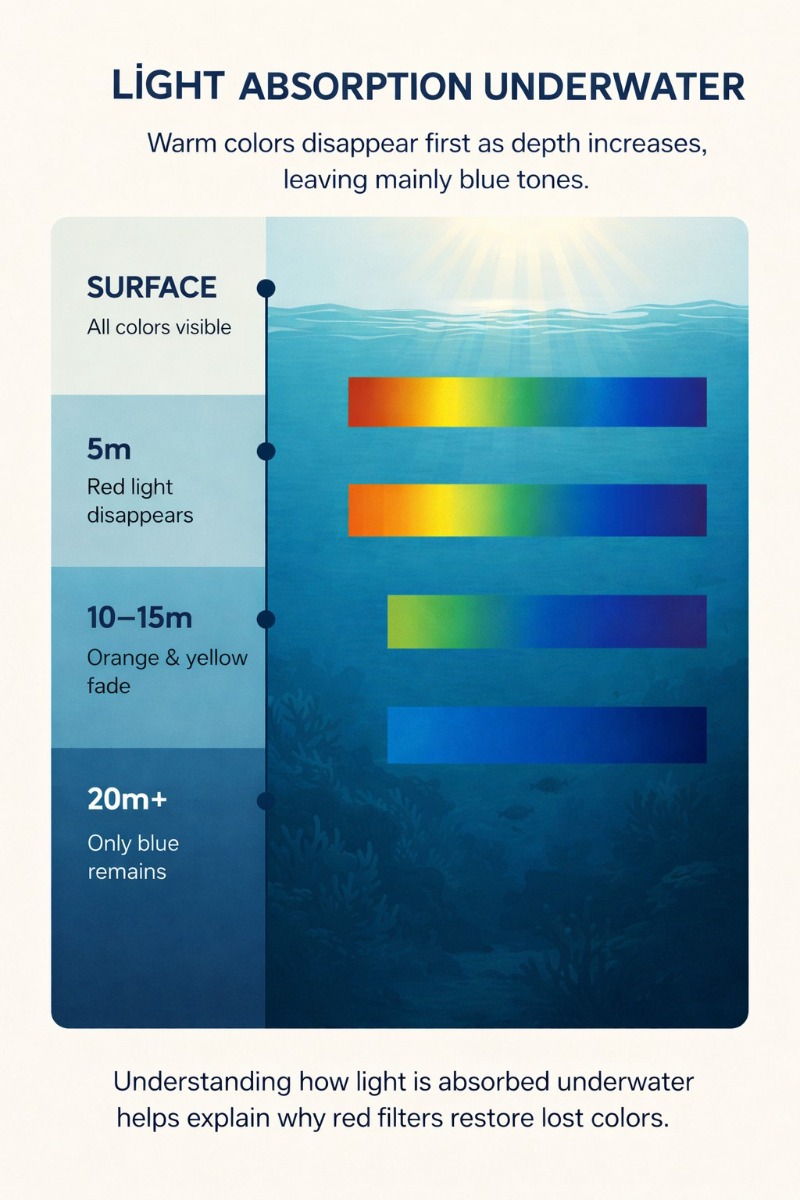
This is the main reason why underwater photos and videos lose their natural colors. To correct this, you need to adjust the light or use the right color correction tools.
What are underwater color correction filters
Underwater color correction filters are designed to correct the color loss caused by water. They are usually placed in front of your lens or on your lighting system. Instead of adding light, they adjust the available light so colors look more natural.
Looking for the right filter for your setup? View our full range of underwater color correction filters.
The most common types are:
- Red filters for blue water
- Magenta filters for green water
- Blue ambient filters for underwater lights
Each type is designed for specific conditions. Using the right filter makes a clear difference in how your images look straight out of the camera.
Red filters for tropical blue water
A red filter is the most commonly used filter in underwater photography and videography. It is designed for clear, blue water where red light disappears quickly.
By reducing the amount of blue light, the filter helps bring back warmer tones such as red, orange, and yellow. This results in more balanced and natural-looking images.
Red filters work best:
- In shallow to mid-depth water (around 5 to 20 meters)
- When shooting with natural light
- Without strong artificial lighting
They are widely used on compact cameras, action cameras, and smartphones in an underwater housing.
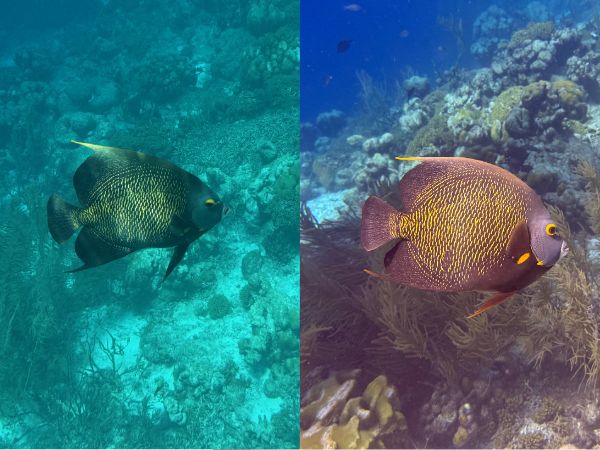
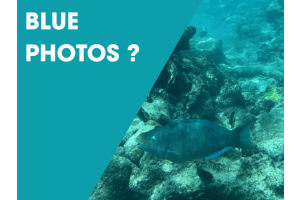
Example of underwater color correction: on the left without filter, on the right with color correction restoring natural colors. The image was taken in Bonaire by a snorkeler using an iPhone 16 Pro in a Divevolk underwater housing.
Want to know exactly how to use red filters in practice? Read our guide on red and blue filters for underwater photos and video.
Blue ambient filters for underwater lights
When you use a video light or strobe underwater, the light often looks too warm compared to the blue background. This creates an unnatural contrast between your subject and the environment.
Blue ambient filters adjust the color temperature of your light. The light becomes cooler and blends better with the surrounding water.
This helps to:
- Create a more natural look
- Balance foreground and background
- Avoid strong color differences in your image
These filters are especially useful in tropical water when you combine natural light with artificial lighting.
Learn more about this technique in our article about ambient filters for underwater photography and video.
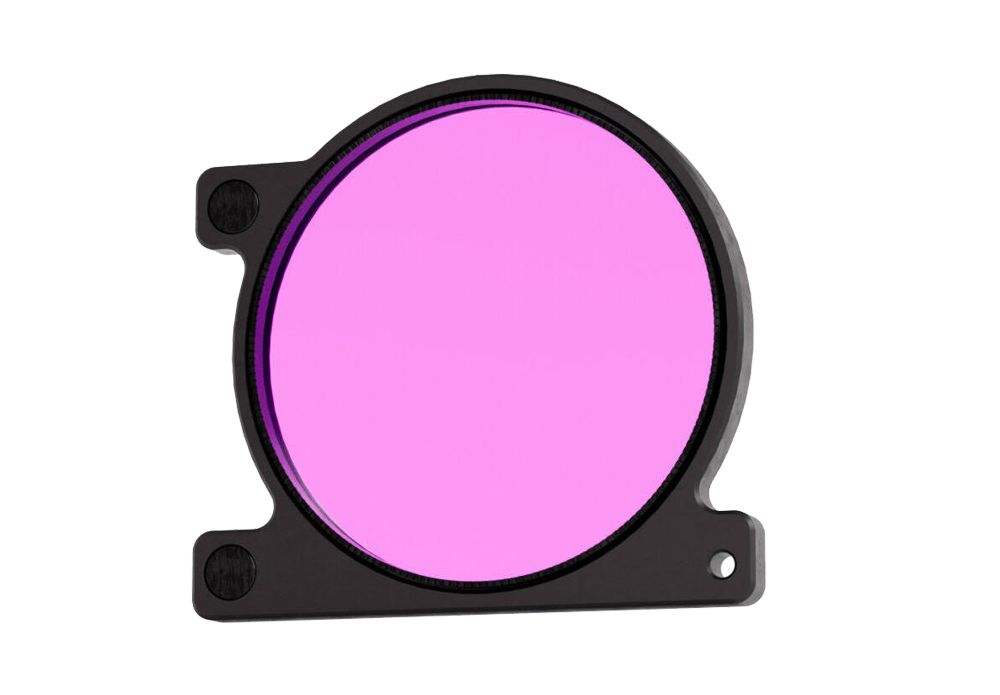
Magenta filters for green water
In green water, such as lakes or certain coastal areas, the color balance is very different. A red filter does not work well here. Instead, you use a magenta filter.
Magenta filters reduce the green tones and help restore a more neutral color balance. They are often used in environments like kelp forests or freshwater locations.
Keep in mind:
- You still need enough natural light
- Visibility plays a big role in the final result
In darker conditions, artificial lighting is often a better solution.
Color filters or white balance
Color filters are not the only way to improve your underwater colors. Another important tool is custom white balance.
With white balance, you adjust how your camera interprets color under specific lighting conditions. This can help correct the blue or green tint without using a physical filter.
In practice:
- Filters are easier and faster for beginners
- White balance offers more control for advanced users
- Combining both often gives the best results
Want to learn how to set this up step by step? Read our guide on custom white balance for underwater photography.
Using an Olympus Tough camera? Read our step-by-step guide on how to adjust white balance on an Olympus Tough camera.
Which solution should you choose
The best approach depends on your situation:
- Snorkeling or shallow diving with natural light
Use a red filter - Shooting with video lights
Combine a red filter with a blue ambient filter - Green water conditions
Use a magenta filter - Advanced users
Combine filters with manual white balance
There is no single solution that works in every situation. The right choice depends on your camera, your lighting, and the water conditions.
Choosing the right filter for your setup
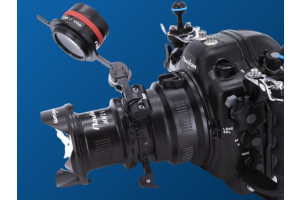
Not every filter fits every camera or underwater housing. There are different mounting systems and sizes, depending on your setup.
Common options include:
- Clip-on filters for action cameras
- Screw-in filters such as 67mm
- Flip systems that let you switch filters underwater
It is important to choose a filter that matches your housing and the way you shoot. Ease of use underwater makes a big difference.
Final thoughts
Getting natural colors underwater is one of the biggest challenges in both underwater photography and underwater videography. Without correction, your images will often look too blue or green.
Underwater color correction filters offer a simple and effective solution. By choosing the right filter for your conditions, you can achieve more natural and balanced results straight out of the camera.
Not sure which filter fits your camera or diving conditions? Feel free to contact us. We are happy to help you choose the right setup.