Nederlands


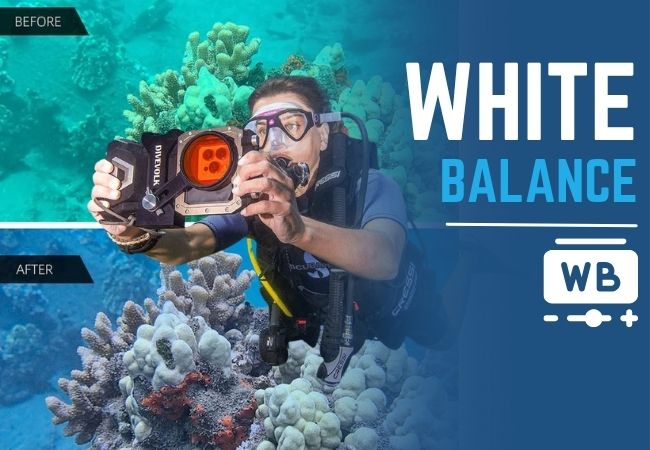
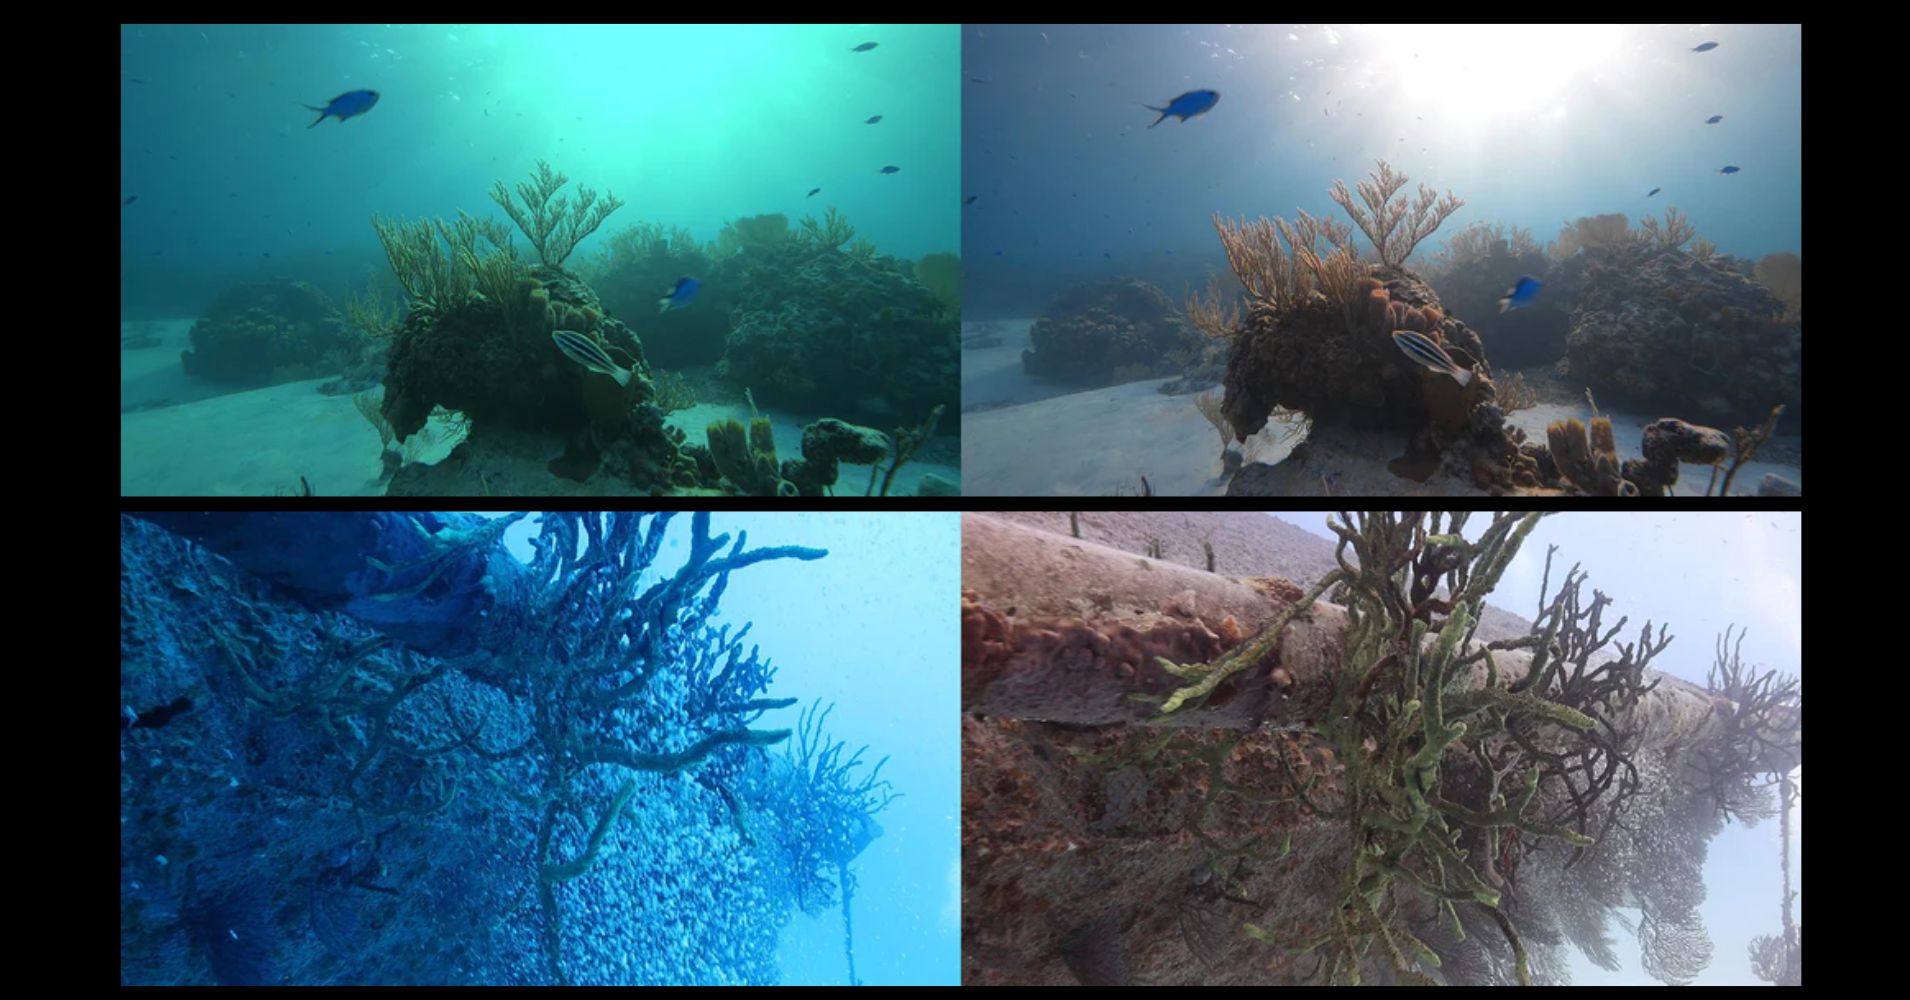
Have you ever looked at your underwater photos after a dive and thought, “Why does everything look so... blue?” or “I swear those corals were way more colorful than this!” Don’t worry, you're not imagining things. When we take photos underwater, especially without flash or artificial lights, the ocean tends to eat up a lot of the colors we see with our own eyes. Reds and oranges disappear first, leaving us with a lot of dull blues and greens. So what’s the fix? Custom White Balance.
Let’s break it down step-by-step so your next dive photos can truly capture what you actually saw under the surface.
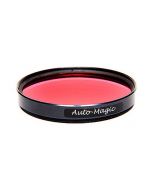
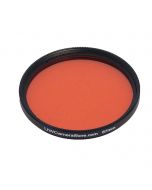
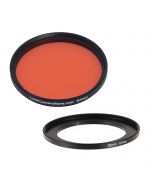
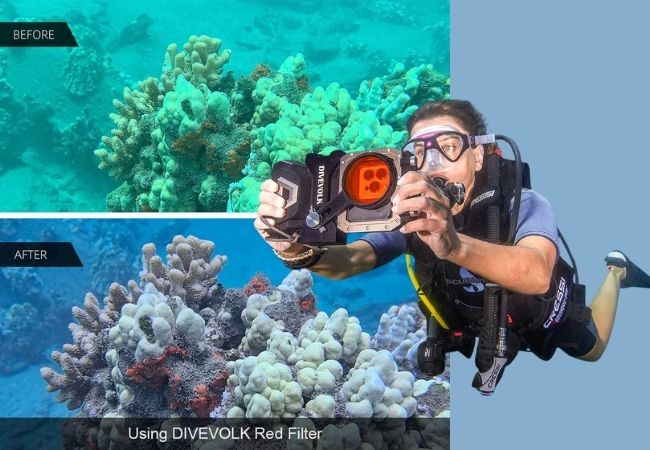
Want to understand how filters can help as well? Read our guide to underwater color correction filters.
Why colors look weird underwater
First, a quick sciencey bit (but don’t worry, this won’t get too technical):
As you go deeper underwater, light behaves differently. Water absorbs light wavelengths in a specific order. Here's the short version:
- Red disappears first, at just a few meters deep.
- Then orange and yellow.
- Blue and green stick around the longest, hence the underwater blue tint.
Even in shallow water, colors start to fade. So what your eyes see and what your camera captures are often very different things.
That’s where your camera’s white balance settings come in. They help correct the color tone of your images so they don’t look like they were shot on Planet Blue.
What is custom white balance?
Most cameras have an auto white balance (AWB) feature that tries to guess what the lighting should look like. Above water, it usually does a decent job. Underwater? Not so much.
Custom white balance lets you tell the camera what “white” really looks like under current lighting conditions. This helps the camera adjust the color palette so it reflects the true colors of the scene, bringing back those lost reds, oranges, and yellows (as much as possible without artificial light).
When should you use custom white balance?
Here’s the golden rule:
If you're not using a flash, video light, or strobe, you should be setting a custom white balance.
It’s especially helpful when:
- You’re shooting in natural light
- You want less editing work later
- You want colors that are closer to what your eyes see
If you're using strong artificial lights, you can rely more on those lights to “bring back” the colors. But even then, setting a proper white balance never hurts.
How to Set Custom White Balance (Step-by-Step)
The process depends on your camera model, but it usually goes something like this:
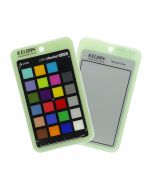
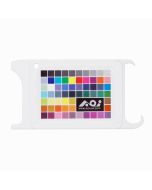
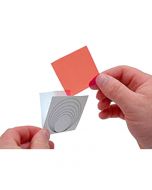
Step 1: Find a White or Neutral Surface
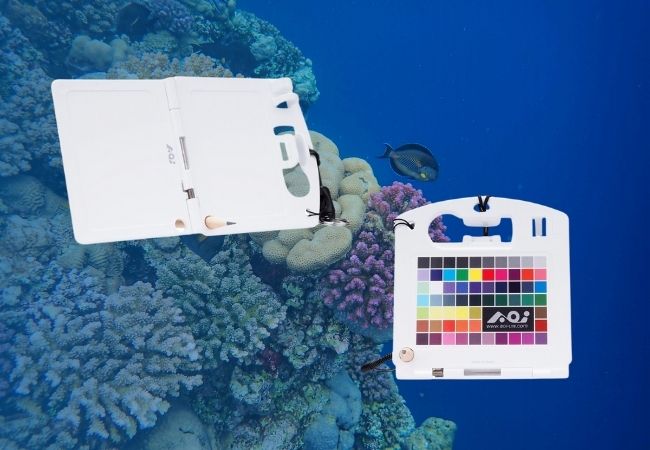
You need something in your shot that the camera can use as a reference for “true white.” This can be:
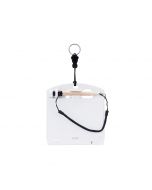
- A white dive slate
- A gray or white fin
- A patch of sand or coral that’s light-colored
Step 2: Dive Into Your Camera Menu
- Open your camera’s White Balance settings.
- Select Custom White Balance (sometimes called “Set White Balance” or “Manual WB”).
- Point the camera at the white/neutral object and confirm or set.
Some cameras require you to take a photo of the white object first, then use that photo to set white balance.
Step 3: Reset As You Go
As you dive deeper, the lighting changes. The color of light at 5 meters isn’t the same as it is at 20 meters. So try to reset your white balance every:
- 3 to 5 meters
- Or whenever you notice a big change in lighting
It only takes a few seconds, and the improvement in your photos is totally worth it.
What If You Forget to Set It?
No worries! You can still edit photos later to correct colors, especially if you shoot in RAW format. But getting it right in-camera saves time, preserves quality, and gives you better-looking shots straight out of the water.
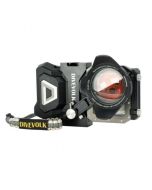
Using a phone or touchscreen camera?
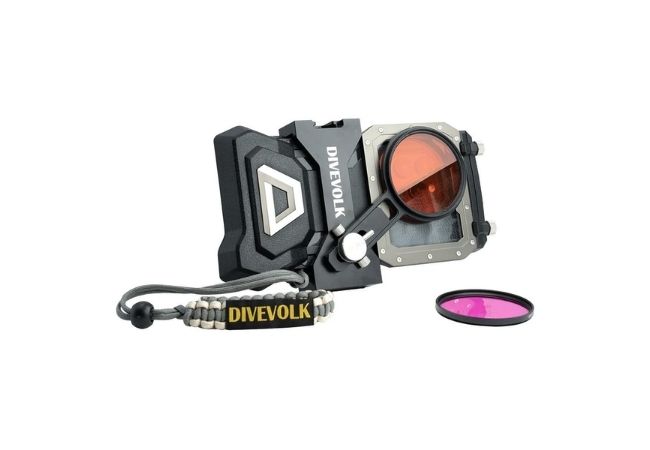
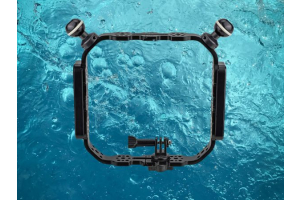
If you’re using a phone inside a touchscreen housing, like the DIVEVOLK SeaTouch, you’re in luck. You can access all your camera settings underwater, including custom white balance, just like you would above water.
That means you can adjust as needed during the dive without having to surface. Super handy!
Quick tips to remember
- Shoot in shallow water for more natural light and better colors
- Use a white slate or light-colored object to set white balance accurately
- Reset white balance every few meters or when lighting changes
- Use a camera housing that gives you easy access to white balance settings
- Shoot in RAW if your camera allows, gives more flexibility later
Final Thoughts: Is it worth the extra effort?
Absolutely. Setting a custom white balance might seem like one more thing to think about, but it can seriously transform your photos.
It’s the difference between:
- “Meh” blue-tinted snapshots…
- And vibrant underwater scenes full of life, color, and depth.
If you're shooting for fun or sharing your dive adventures on social media, your photos will stand out so much more when the colors actually look like what you saw.
So on your next dive, give custom white balance a try. Your photos (and your dive buddies) will thank you.